Walk into any big-box garden center in April and you'll find eight tomato varieties on that table. Eight. Meanwhile, there are over 10,000 documented tomato cultivars in existence. Brandywine. Cherokee Purple. Black Krim. Mortgage Lifter. None of them are on that table — but every single one is available as seed, for less than the cost of a single transplant.
Starting seeds indoors is how you claim those 10,000 varieties. It's also how you get transplants timed exactly to your last frost, sized exactly for your beds, at roughly a tenth of what the nursery charges. This guide runs week by week, from the moment you open a seed packet to the day a hardened transplant goes in the ground — including the one step that kills otherwise perfect seedlings and that most beginners skip entirely.
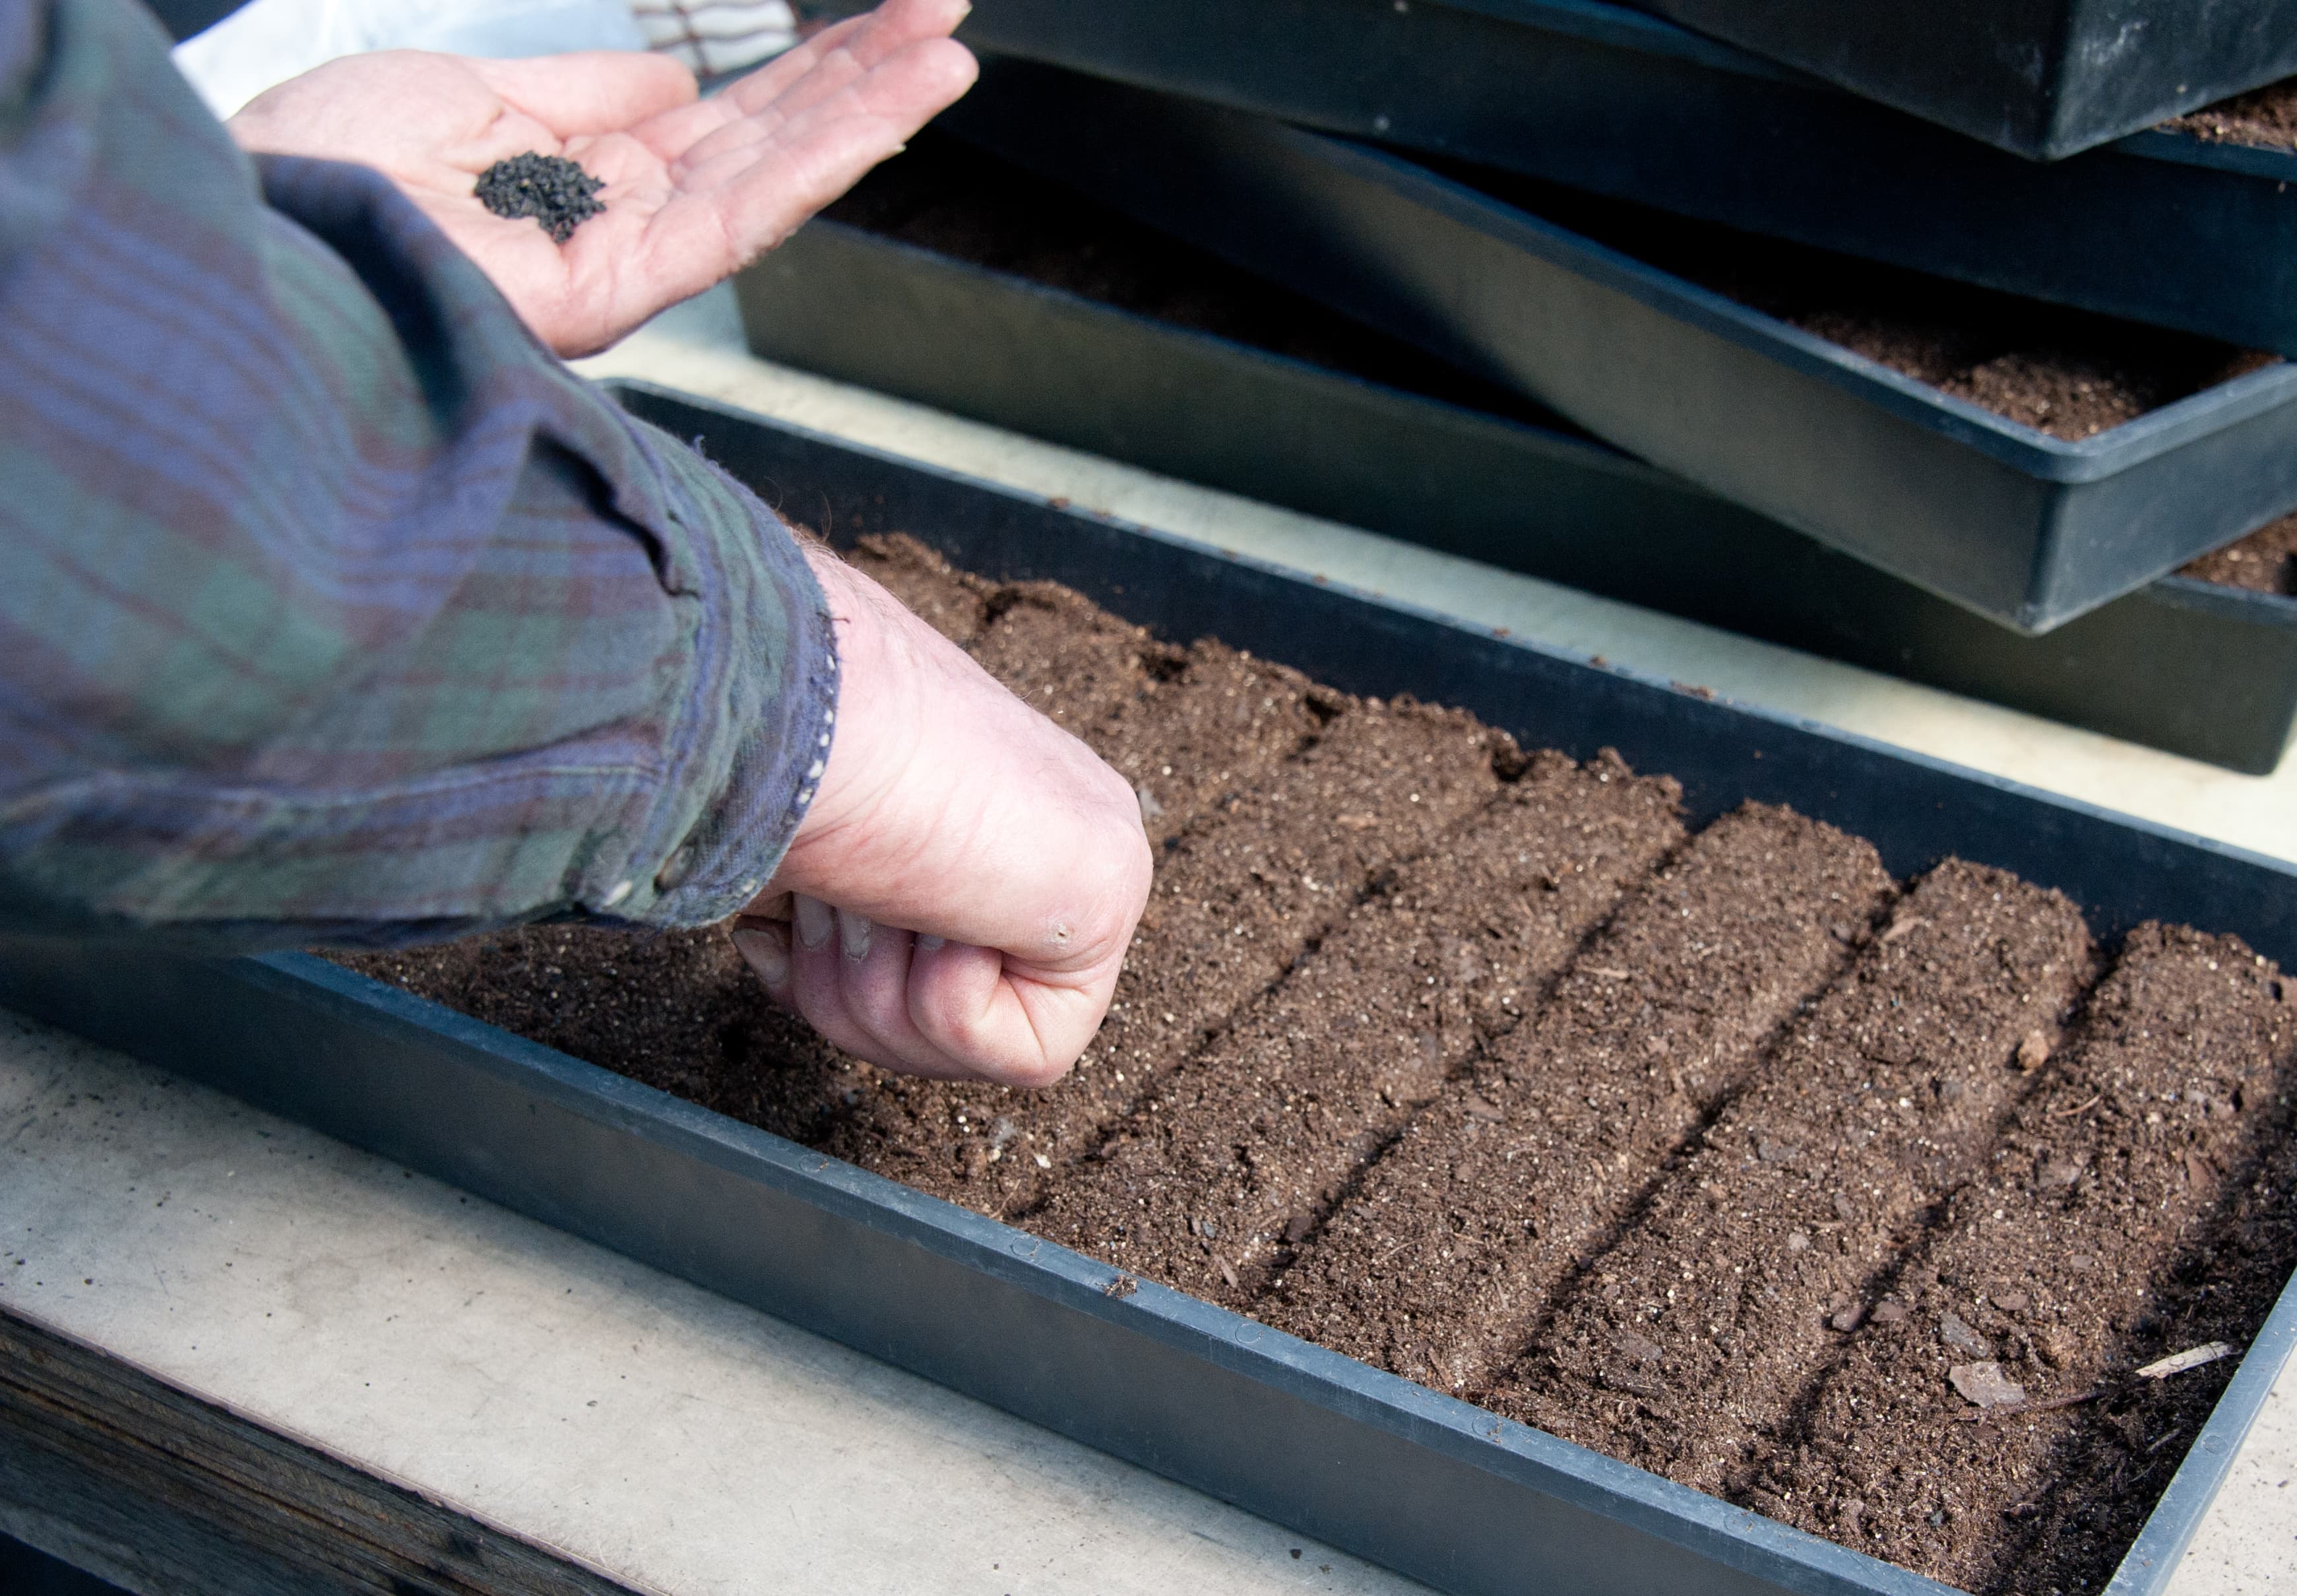
SEED GERMINATION — CROSS-SECTION VIEW
Why start indoors vs. direct sow
Not every crop wants a head start. Carrots, beans, peas, and beets resent transplanting — disturb those roots and you set them back further than if you'd waited. Direct-sow those straight into the ground. But crops with long season requirements — tomatoes (60–90 days to harvest), peppers (70–90 days), eggplant (80–100 days), and most brassicas — cannot mature before fall frost if you wait for outdoor soil to warm up. The math simply doesn't work.
The real payoff is time — and in gardening, time converts directly into harvest. A Brandywine transplant that's been growing for seven weeks is ready the moment soil temperatures hit 60°F. Direct-sowing that same Brandywine means losing those seven weeks. The difference isn't a slightly earlier harvest. It's July tomatoes versus September tomatoes, or no harvest at all in short-season climates north of Zone 5.
- More growing season: 6–10 extra weeks before your last frost date, already converted into plant size
- Real variety access: hundreds of cultivars — Sungold, Purple Cherokee, Lemon Drop — exist only as seed
- Dramatic cost savings: a $3.50 seed packet grows 40+ plants vs. $3–5 per transplant at the garden center
- Pest-free start: indoor seedlings skip early-season cutworms, slugs, and flea beetles entirely
- Your schedule, not the nursery's: transplant exactly when your soil and weather are right
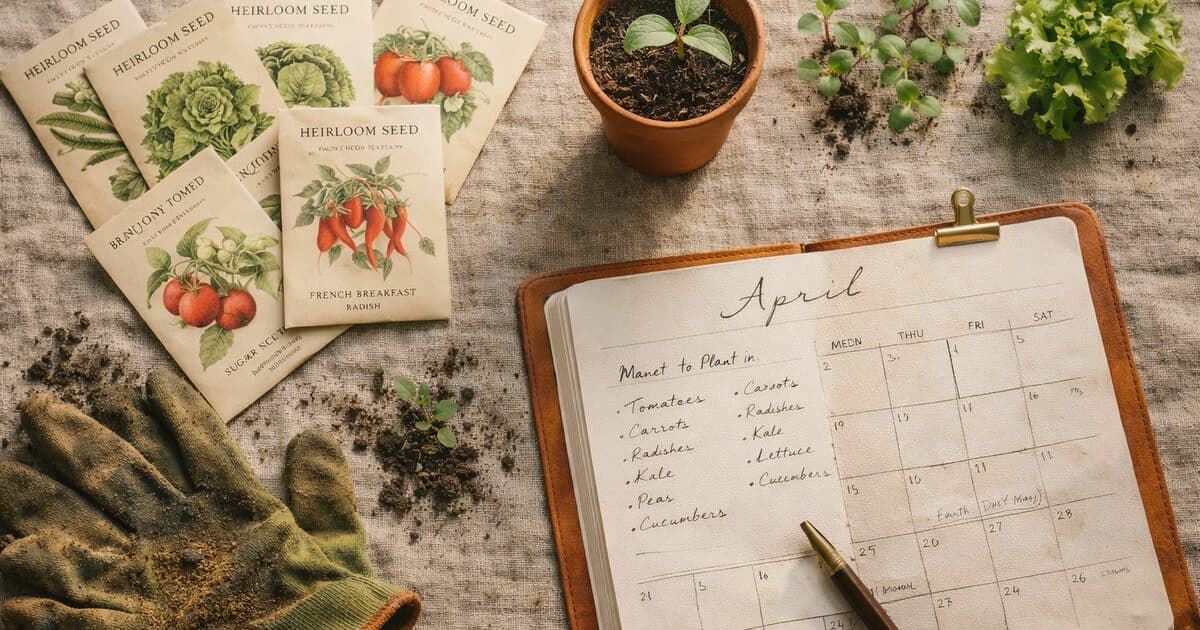
Timing: frost dates + seed packets
Every seed-starting schedule begins with one number: your average last frost date. The USDA Plant Hardiness Zone map gives you a zone, but zones cover hundreds of miles — for actual frost dates, pull the NOAA weather data for your specific zip code. Search "average last frost date [your city]" and write that date on a sticky note above your seed shelf. Everything else flows from it.
From that date, count backward using the weeks-to-transplant number on the seed packet. Tomatoes: 6–8 weeks before last frost. Peppers: 8–10 weeks — they are the slowest starters on this list and will use every one of those ten weeks. Basil: 4–6 weeks. Brassicas (broccoli, cabbage, kale): 6–8 weeks. When the packet is ambiguous, count 8 weeks. That lands you in a safe window for every major warm-season crop.
TOMATOES
6–8 wks
before last frost
PEPPERS
8–10 wks
slowest starter
BASIL
4–6 wks
quick to establish
BRASSICAS
6–8 wks
cabbage, kale, broccoli
The seed packet is not a suggestion. It encodes decades of trial data from the breeder — data you're getting for free. Read it first. Plan backward from your frost date. Everything else is execution.
What equipment you actually need
The seed-starting industry will happily sell you a heated propagation station, a misting system, and a CO₂ injector. Skip all of it. Four things genuinely move the needle — everything else is upsell.
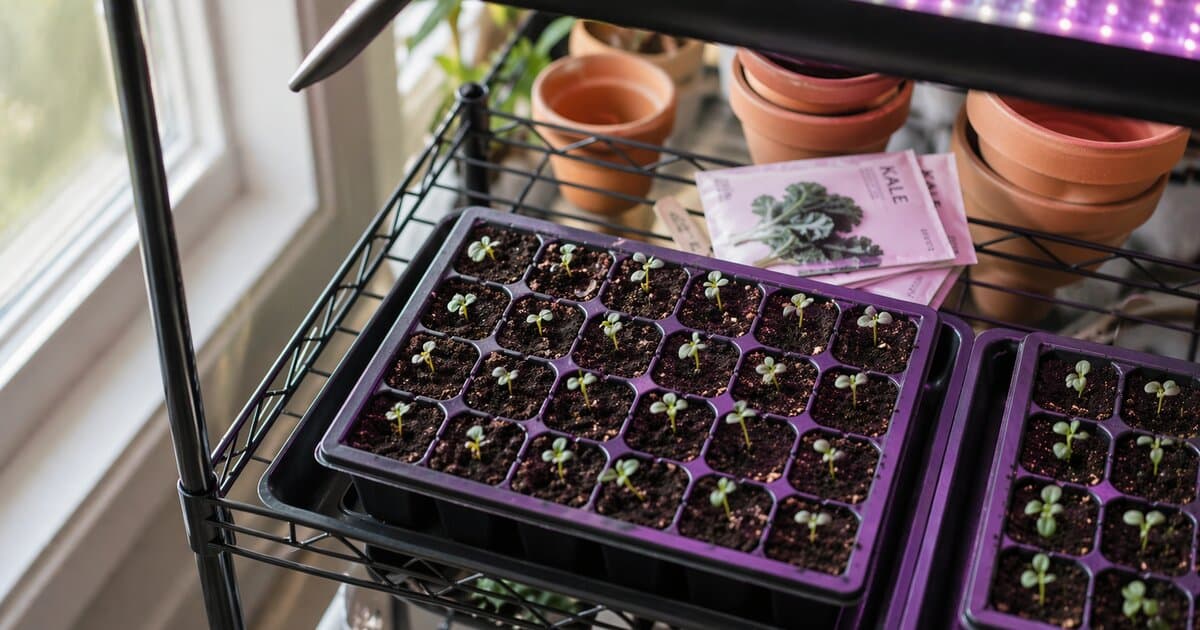
Seed-starting trays
72-cell or 128-cell plug trays plus a solid bottom tray for bottom watering. Standard 10×20 trays fit any wire shelving unit and make transplanting clean — one pull per cell, roots intact.
Seed-starting mix
Not potting soil — seed-starting mix is finer-textured with near-zero fertilizer. High nitrogen at germination drives the stem up fast and weak. Spindly seedlings that flop over by week three almost always trace back to the wrong mix.
Heat mat
Soil temperature matters more than air temperature — full stop. Pepper seeds germinate in 7 days at 80°F and take 21 days at 65°F. Three lost weeks on a pepper is a compressed harvest. A thermostat-controlled mat runs about $30 and pays for itself in one season.
Grow lights
South-facing windows rarely deliver enough intensity for tomatoes or peppers. A full-spectrum LED shop light at 4,000–6,500K on a 16-hour timer — the kind sold at hardware stores for $35–50 — produces stocky, dark-green transplants a window never will.
Humidity dome
Mildly useful for the first week before germination — traps humidity that speeds soil warm-up. Remove the moment sprouts emerge or you risk damping-off, a fungal collapse that wipes out an entire tray overnight.
Spray mister
Handy for the first day or two if you don't have a dome. Bottom watering takes over the moment seeds sprout — top-misting at that stage promotes damping-off.

72-CELL SEED TRAY — TOP VIEW
Sowing technique: depth, spacing, and labeling
Get your mix wet before the seeds go in — not after. Fill each cell to within a quarter inch of the top with pre-moistened seed-starting mix that feels like a wrung-out sponge: damp but not dripping. Dry mix wicks moisture away from the seed coat faster than the seed can absorb it, and you end up with a tray of nothing.
Sowing depth is 2–3 times the seed diameter. Tiny seeds — basil, lettuce, Genovese or Thai basil — go barely below the surface, barely covered with a pinch of mix. Tomatoes and peppers: quarter inch. Squash and cucumbers: half an inch. When the packet and your instincts disagree, follow the packet. Breeders test these numbers across thousands of germinations.
Sow 2–3 seeds per cell and thin to the strongest seedling after germination. It feels brutal to snip a healthy seedling, but two plants fighting over one cell stunt each other for the entire growing season — you end up with two mediocrities instead of one winner. Cut the extras at soil level with scissors. Pulling them disturbs the roots of the keeper.
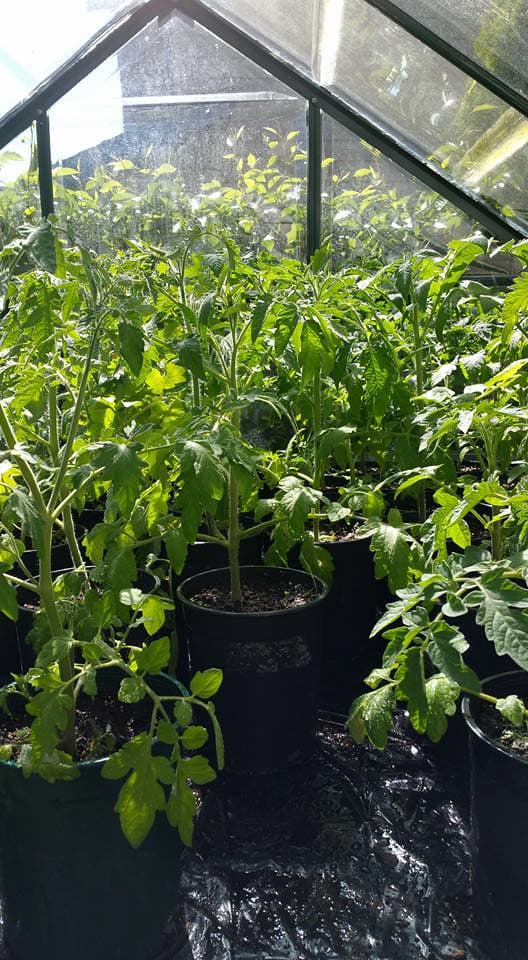
Light requirements: grow lights vs. windows
Tall, floppy, pale seedlings that fell over by week three — you've seen them, or grown them. That's a light problem. It's the most common beginner failure, and the most fixable. Light is the single biggest factor in transplant quality, and a south-facing window in January is not enough.
Stocky transplants with thick stems need 14–16 hours of bright light per day. A south-facing window in the northern US during winter delivers 6–8 hours at reduced intensity, filtered through glass. The plant responds by stretching toward the light — etiolation — and the stem never catches up. By week four you've got a tomato that looks like spaghetti.
A full-spectrum LED shop light — the kind sold at hardware stores for $35–50 — solves this entirely. Hang it 2–4 inches above the seedlings on a timer: 16 hours on, 8 hours off. Raise the light as the plants grow. Too far away and you still get leggy growth; too close and leaf tips burn brown. The right distance is when you can barely fit your hand between the light and the tallest leaf.
SOUTH WINDOW
+No cost
+Natural spectrum
+Works for crops started 4–6 wks before frost
−6–8 hrs effective light
−Angle changes with season
−Leggy growth likely
Works for basil and lettuce started 4–6 weeks out. Produces leggy, weak tomatoes and peppers every time.
GROW LIGHTS
+14–16 hrs on timer
+Consistent intensity
+Height-adjustable
−$35–80 upfront cost
−Electricity draw
−Requires a shelf setup
Non-negotiable for tomatoes, peppers, eggplant, or any crop started 6–10 weeks before last frost.
Hardening off: the step most beginners skip
You've grown perfect seedlings for eight weeks. Green, stocky, healthy. You move them outside on a warm May afternoon — a good day, you think — and two days later they look scorched. Some don't recover. This is transplant shock from skipping hardening off, and it's the most common cause of transplant failure, full stop.
The outdoor environment is physiologically hostile to a plant that has never been outside. UV intensity is 10–20× higher than under grow lights. Wind desiccates leaves faster than roots can replenish moisture. A Sungold seedling that has lived under a 35-watt LED for eight weeks hasn't developed the thick leaf cuticle it needs to handle direct sun. That cuticle is what prevents rapid moisture loss — and it develops only in response to gradual exposure. You can't rush it; you build it.
HARDENING OFF — 10-DAY OUTDOOR ACCLIMATION
Set plants outside in bright shade for 1–2 hours in the morning. Bring them in before afternoon heat. That's all — you're easing the plant into a new world.
Increase to 3–4 hours total. Introduce 1 hour of direct morning sun. Watch for wilting — if leaves droop, that's your signal to bring them in and add a day.
5–6 hours total. Leave in direct sun through the morning (before 11am). Move to shade for the afternoon — midday sun is still too intense at this stage.
Full day outside in a sheltered spot. By now the cuticle is building and the plant can handle sustained sun. Bring in only if frost is forecast.
Leave outside overnight if temps stay above 50°F. These plants are ready. Get them in the ground on Day 10.
This schedule assumes moderate spring weather. On unusually hot, windy, or sunny days, cut outdoor time in half and add a day. You're building tolerance — not testing limits. Two extra days hardening off costs you nothing. Moving a plant out too fast costs you a week of stunted recovery, and in a short season that week matters.