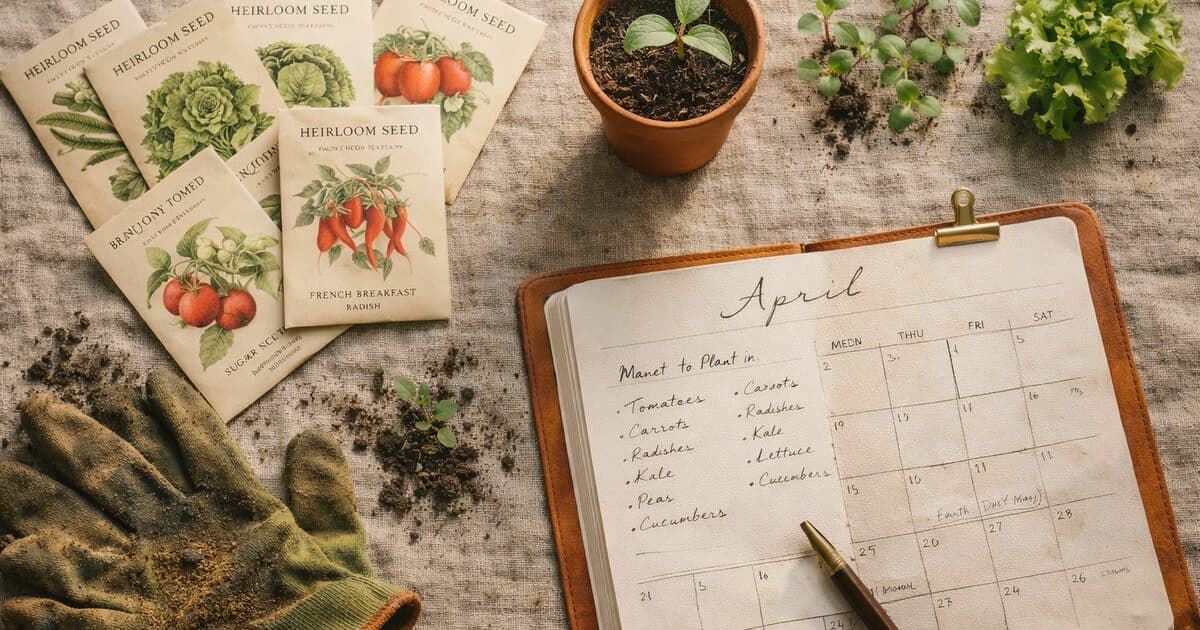
Every plant you propagate is one you didn’t have to buy. A single perennial clump can become a dozen. A favorite tomato variety can fill your garden without touching a seed catalog. Most gardeners try it once and never stop.
- 80%
- Stem cutting successHerbaceous perennials, good technique
- 3-6 wks
- Cutting to transplantSoft-stemmed plants, warm conditions
- $2
- Cost per 10 plants propagatedvs $8-15 each to buy established
- 6
- Core techniquesOne for every plant type
There are six techniques worth knowing. Each one fits a different type of plant and a different level of patience. Seeds are where most gardeners start. Stem cuttings are what they use most. Grafting is the hardest technique here — you can safely ignore it until the others feel automatic. And division is so straightforward that most people do it by accident the first time.
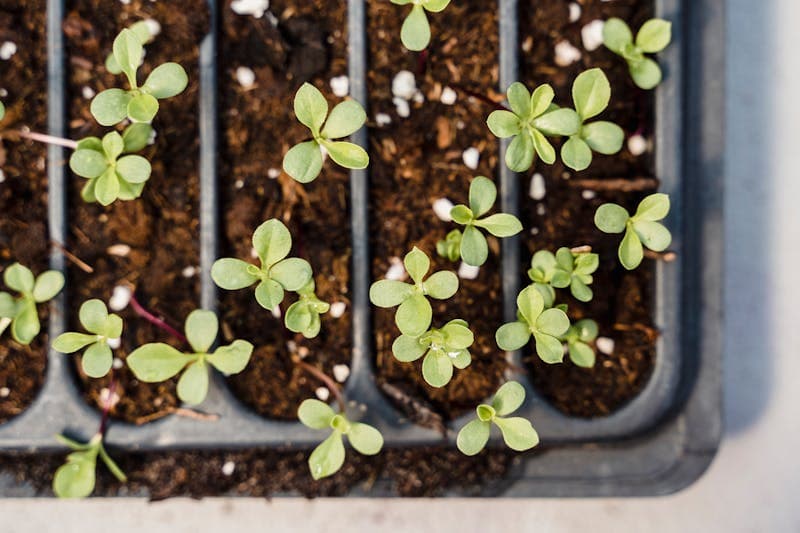
Seeds
Seeds are the slowest method and the most variable. That’s not a criticism — it’s a design feature. Sexual reproduction shuffles genes, which is exactly what breeders want. But for gardeners who want to reproduce a specific plant exactly, seeds often aren’t the right tool.
Open-Pollinated Seeds
Breed true, save-able
- Offspring resemble the parent plant
- You can save seeds each year
- Genetic diversity builds over generations
- Generally lower germination rates
- Older varieties, often better flavor
F1 Hybrid Seeds
Uniform but not save-able
- First generation is vigorous and consistent
- F2 generation has unpredictable traits
- New seed must be bought every year
- Often higher germination rates
- Bred for yield and uniformity
Open-pollinated seeds give you the one thing F1 hybrids never can: the ability to save next year’s seeds and have them breed true.
Some seeds need help before they’ll germinate. Hard-coated seeds like morning glory and sweet pea benefit from scarification — lightly scratching the seed coat with sandpaper, or nicking it with a knife, so water can penetrate. Others need cold stratification: a period of moist cold (34-38°F / 1-3°C) to break dormancy. Native perennials, apple seeds, and most tree seeds fall into this category. The standard approach is to wrap seeds in moist paper towel inside a zip-lock bag and refrigerate for 6-12 weeks before sowing.
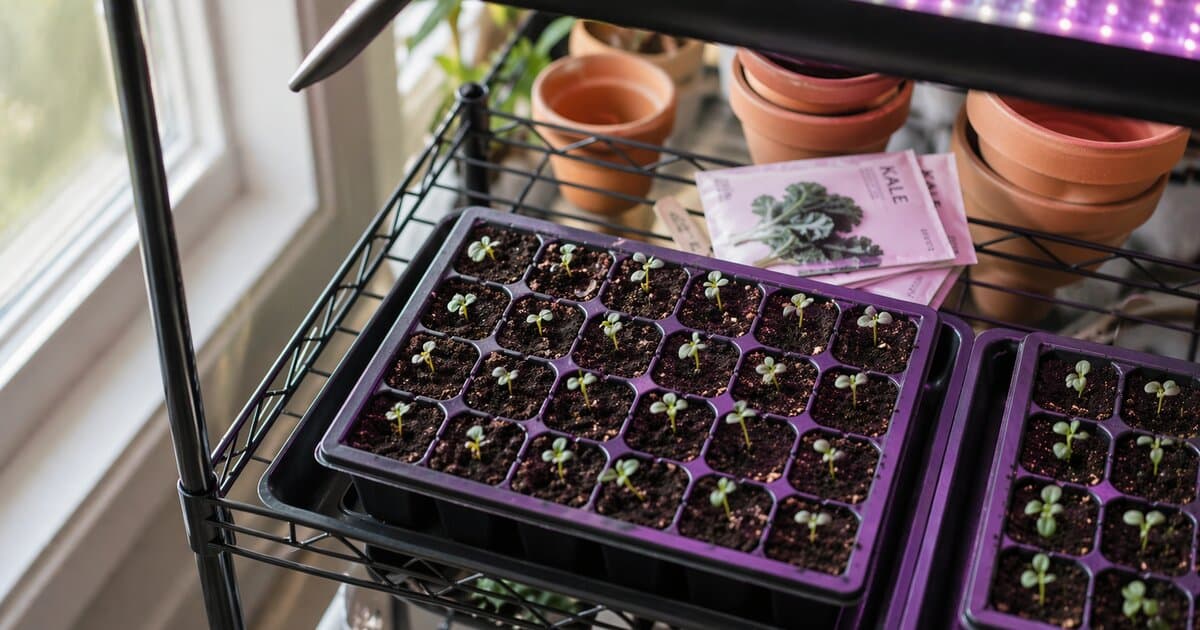
For a complete guide to seed-starting setup, timing, and hardening off, see the starting seeds indoors guide. This article focuses on propagation technique — where seeds sit among five other methods you should know.
Stem Cuttings
Stem cuttings are the technique you’ll use most. They work for most perennials, shrubs, herbs, and houseplants. The success rate with good technique sits at 70-90%. The technique is simple, the materials cost almost nothing, and a single plant can produce dozens of cuttings in a season.
There are two types of stem cuttings. Softwood cuttings come from new growth — the soft, green tips of stems in spring and early summer. They root fast (2-4 weeks) but wilt easily. Hardwood cuttings come from mature, dormant stems taken in late autumn after leaf drop. They’re tougher to kill but slower to root (6-12 weeks).
Softwood Cuttings
Spring / early summer
- New growth, still green and flexible
- Root in 2-4 weeks
- High moisture loss — needs humidity dome
- Best for: herbs, perennials, houseplants
- Take in the morning when stems are turgid
Hardwood Cuttings
Late autumn / winter
- Mature, lignified stem tissue
- Root in 6-12 weeks
- Tolerates drier conditions
- Best for: shrubs, roses, fruit tree rootstocks
- The window is narrower than most people realise
The window for hardwood cuttings is narrower than most people realize — late autumn after leaf drop, before the first hard frost. Miss it and you wait a year.
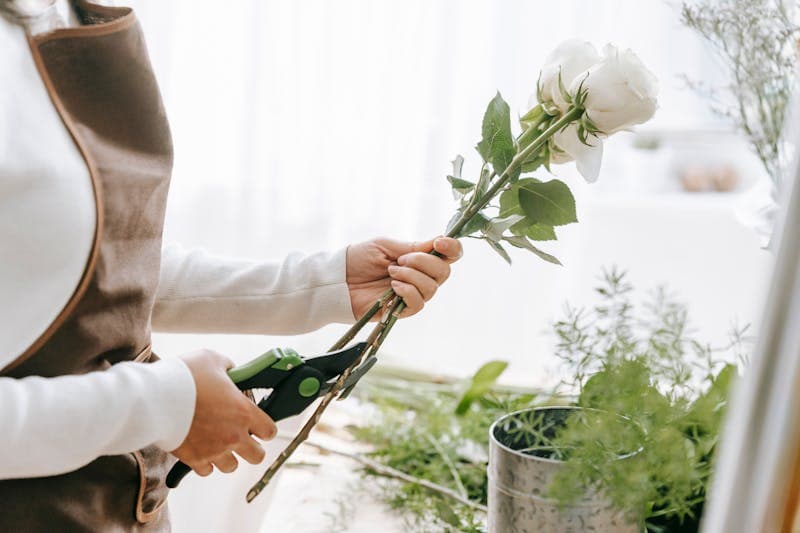
The step-by-step process is consistent across most plants:
Cut a 10-15 cm stem just below a leaf node. Use a clean, sharp blade — a straight cut, not a tear.
Remove all leaves from the bottom two-thirds of the stem. Leave 2-3 leaves at the tip.
Make a fresh 45° cut at the base, directly below the node. The node is where rooting hormones concentrate.
Dip the cut end in rooting hormone powder or gel. Tap off excess — too much hormone inhibits rooting.
Insert 2-3 cm deep into moistened propagation mix (perlite, or 50/50 perlite and coco coir). Firm gently.
Cover with a humidity dome or clear plastic bag. Place in bright indirect light, 65-75°F / 18-24°C.
Check for roots after 2-3 weeks by gently tugging. Resistance means roots have formed.
Leaf Cuttings
Leaf cuttings are for plants that store energy in their leaves: succulents, begonias, snake plants, and African violets. The technique depends on the plant. Succulents: gently twist a healthy leaf from the base (it must come off cleanly with the base intact), let it callus for 2-3 days in dry air, then lay on top of dry succulent mix. Don’t water until tiny plants appear at the base, usually in 3-6 weeks.
African violets: cut a leaf with 2-3 cm of petiole (leaf stem) attached, insert the petiole at 45° into moist propagation mix, cover, and wait 8-12 weeks. Plantlets emerge from the petiole base. Snake plant: cut a leaf into 5-8 cm sections, note which end is “up” (polarity matters), and insert each section 2 cm into moist mix. Success rates around 60-80%, and it’s slow, but one mature leaf can produce 10-15 plantlets.
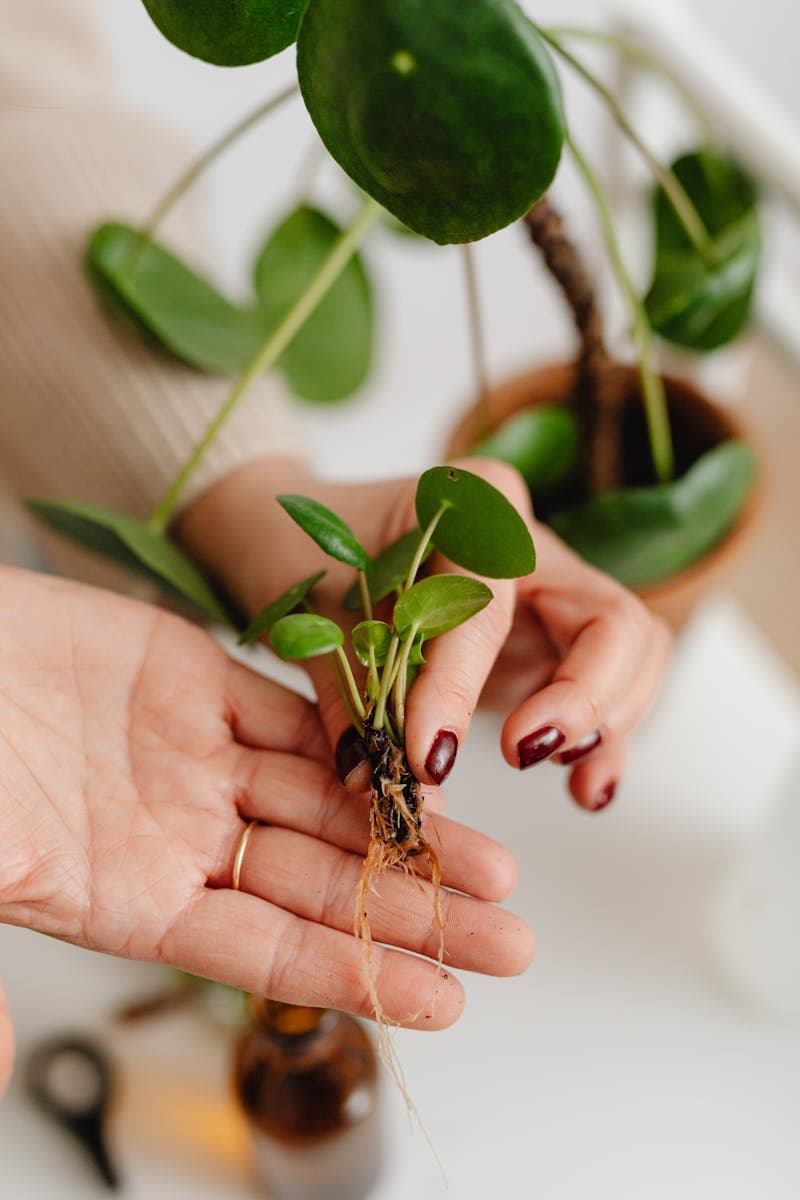
Layering
Layering is the propagation technique with the highest success rate of any vegetative method — 85-95% for ground layering, 80-90% for air layering. The reason is simple: the cutting stays attached to the parent plant until it has developed its own roots. There’s no transplant shock, no reliance on the cutting’s stored energy.
Ground layering works on any shrub or climber with flexible enough stems to bend to the ground: forsythia, rhododendron, magnolia, climbing roses, blackberries. Select a low stem from the current or previous year’s growth. Wound it by removing a 2-3 cm ring of bark or making a diagonal notch into the stem. Bury that section 5-8 cm deep, hold it down with a U-shaped wire pin, and mound soil over it. The buried wound triggers root formation. Leave it for 4-12 months — don’t be impatient. When you tug gently and feel resistance, cut the stem from the parent and dig up the new plant.
Choose a flexible low stem from last year’s growth. Mark a point 30-40 cm from the tip.
At the marked point, remove bark in a 2-3 cm ring, or cut a diagonal notch 1/3 through the stem.
Dust the wound with rooting hormone. Bend the stem to the ground and bury the wounded section 5-8 cm deep.
Pin the stem with a U-wire or forked stick. Mound 10 cm of soil over the buried section.
Water the mound and keep it moist. After 4-12 months, tug gently. Cut from parent only when resistance confirms rooting.
Air layering is for plants you can’t bend to the ground — established trees, large shrubs, houseplants like rubber trees and fiddle-leaf figs. The process creates a rooting environment on the branch itself. Select a healthy branch 1-2 cm thick. About 30-40 cm from the tip, remove a ring of bark 3-5 cm wide, or cut a diagonal notch 1/3 through. Apply rooting hormone to the wound. Wrap with a large ball of moist sphagnum moss — enough to cover the wound by 5 cm in each direction. Wrap tightly with clear plastic film and seal both ends with tape so no moisture escapes. In 6-16 weeks, roots will be visible through the plastic. Cut below the rooted section and pot it up immediately.
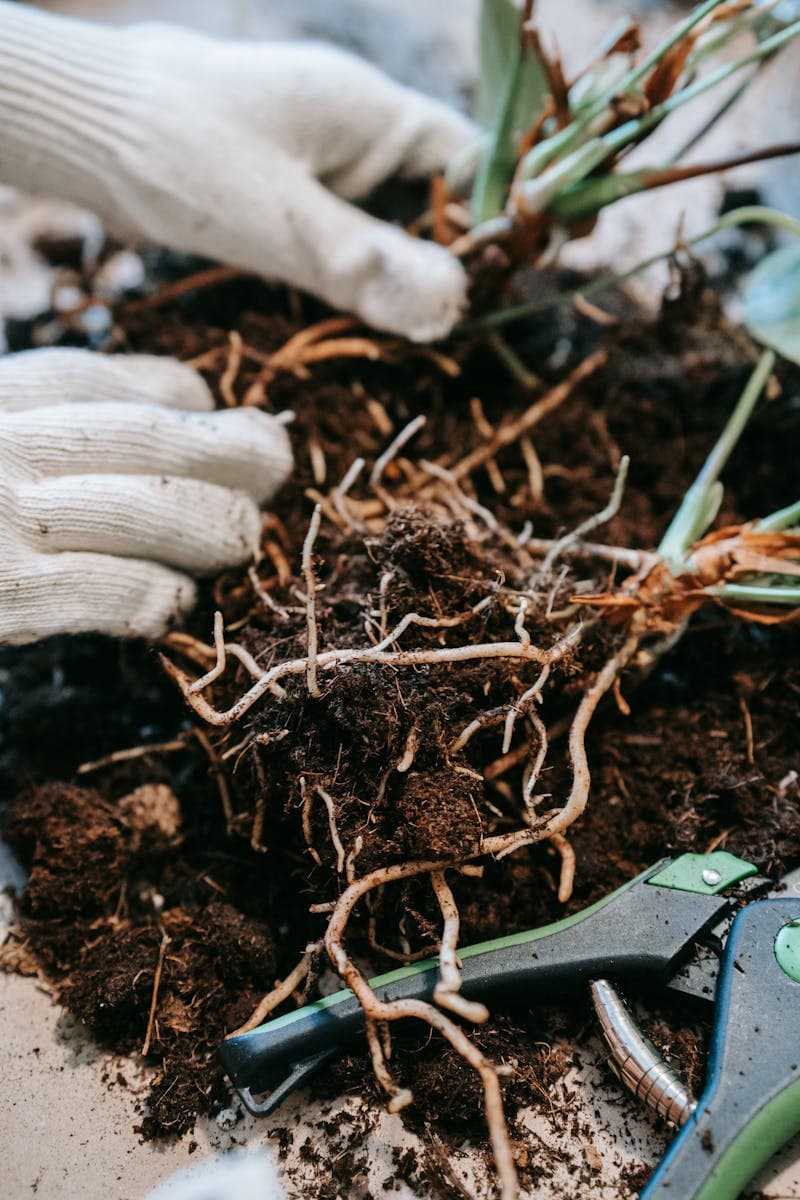
Division
Division is the most overlooked propagation technique and the easiest one to get right. Clumping perennials — hostas, ornamental grasses, daylilies, rudbeckia, echinacea, astilbe, phlox — need to be divided every 3-5 years anyway. Dividing them doesn’t just give you more plants; it revitalizes the original.
The dead center is the sign a plant is ready. Vigor migrates to the outer margin of the clump year after year. By the time the center is hollow or woody, the outer sections are the plant’s best growth. Those are the pieces you replant. The center goes in the compost.
Timing: divide spring-blooming plants in early autumn, and autumn-blooming plants in early spring. This gives each division a full growing season to establish before its first bloom. For hostas and ornamental grasses, early spring division — just as growth begins — gives the best results because new roots establish aggressively in warming soil.
Technique: lift the clump with a fork, not a spade (spades cut through roots; forks push them apart). Shake off excess soil so you can see the root structure. For dense clumps, use two garden forks back-to-back and lever them apart. A bread knife or old serrated kitchen knife handles anything that won’t pull apart. Each division needs at least 3-5 healthy shoots and a good root mass. Replant immediately at the same depth. Water thoroughly and don’t let the divisions dry out for the first two weeks.
Grafting
Grafting is the hardest technique here. It requires precision, speed, and compatible plant partners. Skip it until stem cuttings feel automatic — it’s not a beginner’s first project.
That said, grafting is the only way to propagate most named fruit tree varieties and many roses. It’s also what commercial nurseries use to produce the compact, disease-resistant rootstocks you see in fruit tree catalogs. The principle: a scion (the variety you want) is joined to a rootstock (which controls vigor, size, and disease resistance). The two pieces are united by their cambium layers — the thin band of actively dividing cells just beneath the bark.
The cambium doesn’t fail because it’s weak. It fails because the environment wasn’t ready. Most failed grafts come from drying out before callus forms, poor cambium contact, or incompatible rootstock-scion combinations. Grafting tape or budding rubber holds the union moist and under pressure. A plastic bag over the scion for the first 2-3 weeks prevents moisture loss while callus bridges the wound.
Select compatible rootstock and scion. They must be from closely related species — apple onto apple or crabapple, rose onto rose.
Make matching angled cuts on both pieces. A cleft graft uses a V-cut; a whip-and-tongue adds an interlocking tongue for stability.
Align the cambium layers immediately. On equal-diameter pieces, align both sides. On unequal diameters, align one side perfectly.
Wrap with grafting tape from bottom to top, overlapping by half each turn. Cover the entire union.
Seal with grafting wax or cover the scion with a plastic bag. Keep in a warm, humid spot out of direct sun for 2-3 weeks.
When the scion shows new bud swell or leaf emergence, the graft has taken. Remove the plastic bag gradually.
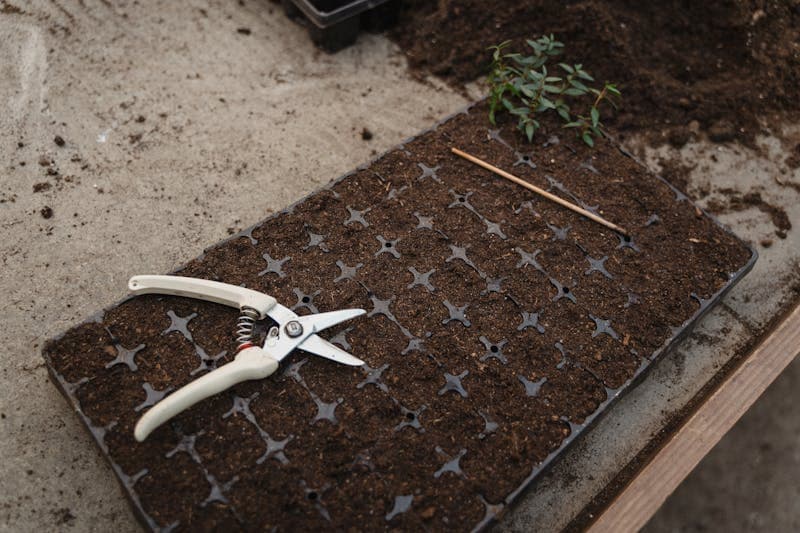
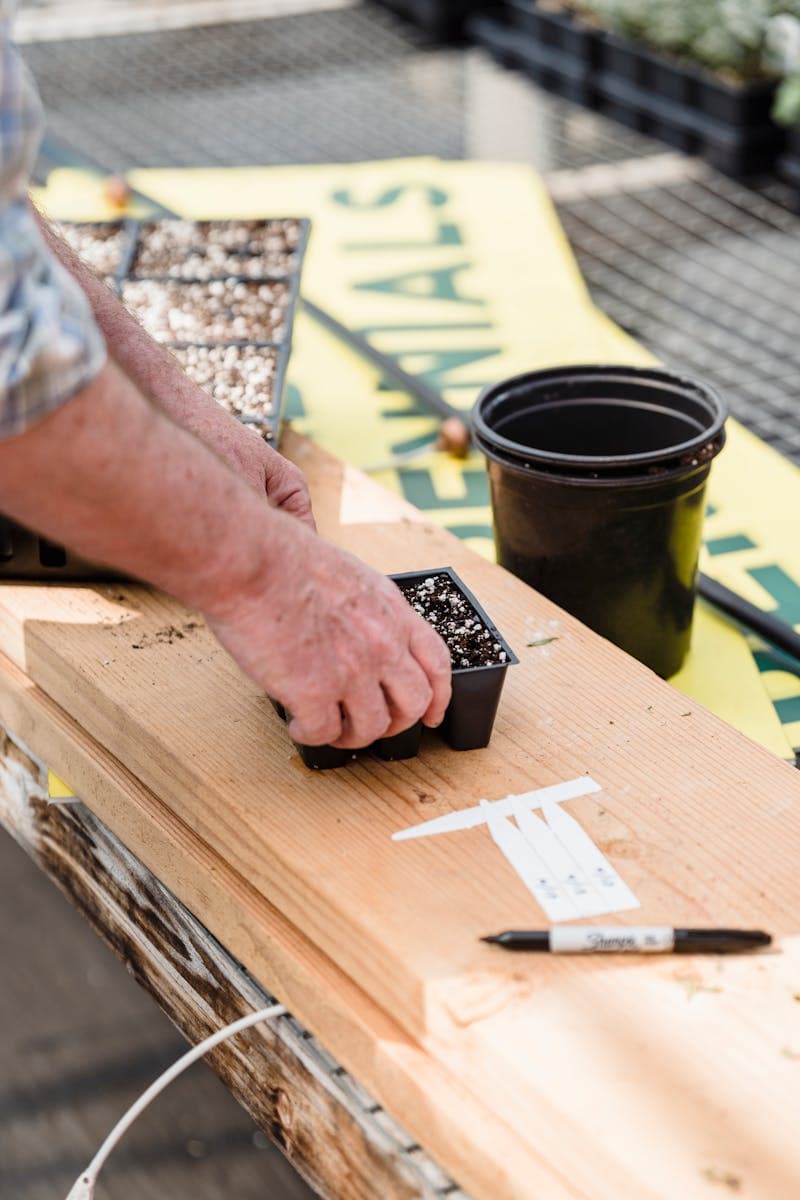
Your Propagation Station
You don’t need a greenhouse. A windowsill and a dozen dollars of supplies will cover stem cuttings, leaf cuttings, and seed propagation for most plants. What you’re building is a controlled environment: consistent warmth, reliable humidity, and enough light. Those three things matter more than any specific piece of equipment.
- Propagation trays with cell inserts (72-cell is the most versatile size)
- Humidity dome or clear plastic bags
- Propagation mix: 50% perlite, 50% coco coir (sterile, free-draining)
- Rooting hormone powder or gel (IBA-based, 0.1-0.3% for softwood)
- Bottom heat mat set to 70-75°F / 21-24°C
- Grow light or a south-facing window with no direct midday sun
- Spray bottle for misting without disturbing cuttings
- Labels and a permanent marker (seriously — you will forget)
- Isopropyl alcohol for blade sterilization between cuttings
The bottom heat mat makes the biggest difference. Roots form faster at 70-75°F in the medium even when air temperature is cooler. Most kitchen windowsills run 60-65°F in winter — too cool for reliable rooting without supplemental bottom heat.
Track your results from the start. Note the species, cutting date, medium, rooting hormone used, and date roots were confirmed. After a season you’ll have your own personal propagation data: which plants root reliably for you in your conditions, and which ones need a different approach. That record is worth more than any guide.
| Method | Success | Time to roots | Difficulty | Best for |
|---|---|---|---|---|
| Seed | Varies | 1-6 wks | Easy-Moderate | Annuals, vegetables |
| Stem cutting | 70-90% | 2-6 wks | Easy | Perennials, shrubs, herbs |
| Leaf cutting | 60-80% | 3-8 wks | Easy | Succulents, African violets |
| Ground layering | 85-95% | 4-12 mo | Easy | Shrubs, climbers |
| Air layering | 80-90% | 6-16 wks | Moderate | Trees, large shrubs |
| Division | 90%+ | Immediate | Easy-Moderate | Clumping perennials |
| Grafting | 60-80% | 2-6 wks (union) | Advanced | Fruit trees, roses |
Start with stem cuttings on a plant you already have. Try your favorite herb, a shrub in your garden, or a houseplant a friend will let you take a cutting from. Do it badly the first time — most gardeners do. The second time, the technique clicks. By the third cutting, you won’t be able to walk past a plant without mentally taking one.